This post will address provisioning of the DLP service in GCP using Terraform. Terraform is a great IaC provisioning tool that can be used across various cloud providers and because it’s managed by a third party (Hashicorp), it’s a beneficial choice for multi-cloud configurations, or just for the decoupling aspect it provides.
Now, because the Terraform GCP Provider API is not managed in tandem with updates to the GCP services (DLP in our case) there will not be an exact 1:1 feature parity when using it to provision DLP (i.e. lack of Firestore support). However, for simple configurations it is great to setup basic inspection templates, job triggers, and stored info types . In addition, the Terraform modules provided by Google, may or may not exist for the service you intend to provision. Currently that is true for our case in DLP so we will demonstrate one form of configuration.
THE SETUP
Prerequisites for setting up DLP here will be:
- Terraform 0.12
- Your GCP Project
- Gcloud CLI & Auth keys for the user or service account in your GCP Project
- Cloud Storage unique bucket for terraform state storage
- Enabled API’s:
– IAM
– DLP
To start, let’s first grab the source code we will be using and describe it starting from main.tf.
provider "google" {
  project     = "{REPLACE_WITH_YOUR_PROJECT}"
}

terraform {
  backend "gcs" {
    bucket  = "{REPLACE_WITH_YOUR_UNIQUE_BUCKET}"
    prefix  = "terraform/state"
  }
}

// 1. Service account(s)
module "iam" {
  source                              = "./modules/iam"
}

// 2a. Storage bucket (DLP source input #1)
module "storage_input" {
  source                              = "./modules/dlp_input_sources/cloudstorage"
  cloudstorage_input_bucket_name      = var.cloudstorage_input_bucket_name
  cloudstorage_input_bucket_location  = var.location
  unique_label_id                     = var.unique_label
}

// 2b. BQ table (DLP source input #2)
module "bigquery_input" {
  source                              = "./modules/dlp_input_sources/bigquery"
  bq_dataset_id                       = var.input_bq_dataset_id
  bq_dataset_location                 = var.location
  bq_table_id                         = var.input_bq_table_id
  unique_label_id                     = var.unique_label
}

// 2c. Datastore table indexes (DLP source input #3)
module "datastore_input" {
  source                              = "./modules/dlp_input_sources/datastore"
  datastore_kind                      = var.datastore_input_kind
}

// 3. DLP output config
module "bigquery_output" {
  source                              = "./modules/bigquery"
  bq_dataset_id                       = var.output_bq_dataset_id
  bq_dataset_location                 = var.location
  bq_dlp_owner                        = module.iam.bq_serviceaccount
  unique_label_id                     = var.unique_label
}

// 4. DLP... finally
module "dlp" {
  source                              = "./modules/dlp"
  project                             = var.project
  dlp_job_trigger_schedule            = var.dlp_job_trigger_schedule
  bq_output_dataset_id                = module.bigquery_output.bq_dataset_id
  bq_input_dataset_id                 = module.bigquery_input.bq_dataset_id
  bq_input_table_id                   = module.bigquery_input.bg_table_id
  cloudstorage_input_storage_url      = module.storage_input.cloudstorage_bucket
  datastore_input_kind                = var.datastore_input_kind
}
This file sets up Terraform to use the GCP provider (provider block) then specifies a GCS bucket to store our Terraform state file in (terraform block) — which is best practice when working with multiple teams members or dealing with revision management.
Next, custom modules are specified to create the various components needed by DLP. This part can be modified to use other Google modules if they fit better instead. Each module provided is basic enough but can be extended to fit other scenarios. What we have is:
- 1. ) Service Account Module – This module creates the service account which can be used to access the Big Query service and specifically, with the owner role.
- 2.) DLP Input Source Modules – There are 3 specific modules Cloud Storage, Big Query, and Datastore (a, b, and c) which can be used to create a valid source for data to be checked against. It is most likely, you would only check against 1 source whether it be cloud storage, or a database. Thus you may choose to modify only the one used in your case — the others will be auto created anyway for demonstration purposes.
- 3.) Big Query Dataset Module – As discussed in #1, this is where the DLP job results will go.
- 4.) DLP Module – This is where our inspection template and job triggers will be created. The inspection template is set to detect likely matches for [Email, Person Name, and Phone Number], with sample limits and an exclusion rule set. The job triggers are set for each of the input sources we want to check (as seen in #2) with a schedule specified.
DLP NOTE #1: Because the DLP service can be expensive, this module should be tweaked to the unique needs of your specific project for cost control.
DLP NOTE #2: Although the module contains a stored info type resource, Terraform can not us it for inspection template info type configuration.
Finally, all we need to do in order to configure the execution is pass in our input parameters into the vars.tf file.
If everything has gone well and you perform Terraform steps listed in the Readme.md, you will see all of your resources created.
Apply complete! Resources: 13 added, 0 changed, 0 destroyed.
TESTING IT OUT
Great! But how do we know everything worked?
First ,we can go into GCP and check that our jobs are created.

Then we need to add some data in our input sources. We can add both positive and negative test case data in accordance with the inspection template.
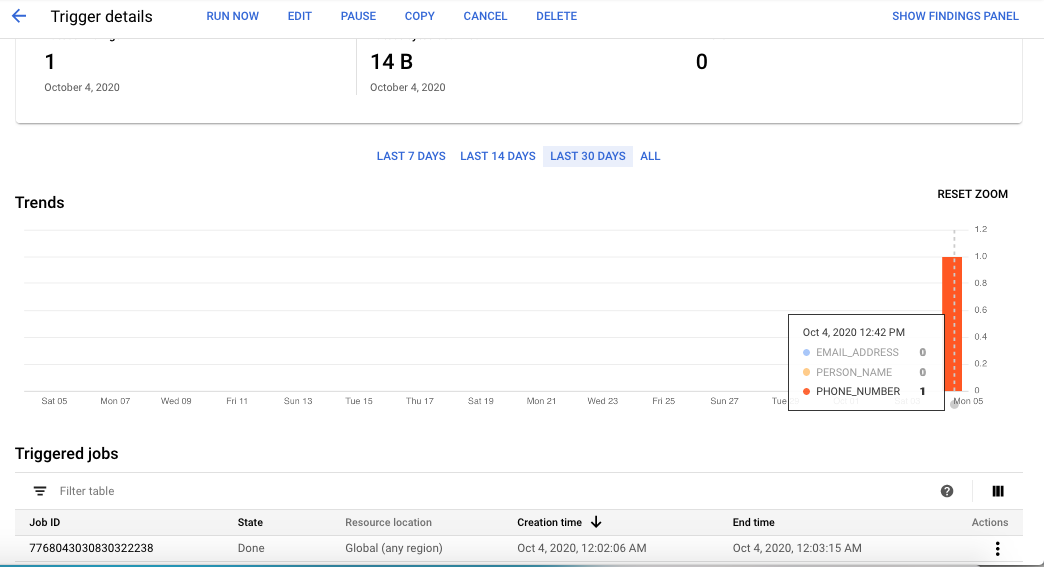
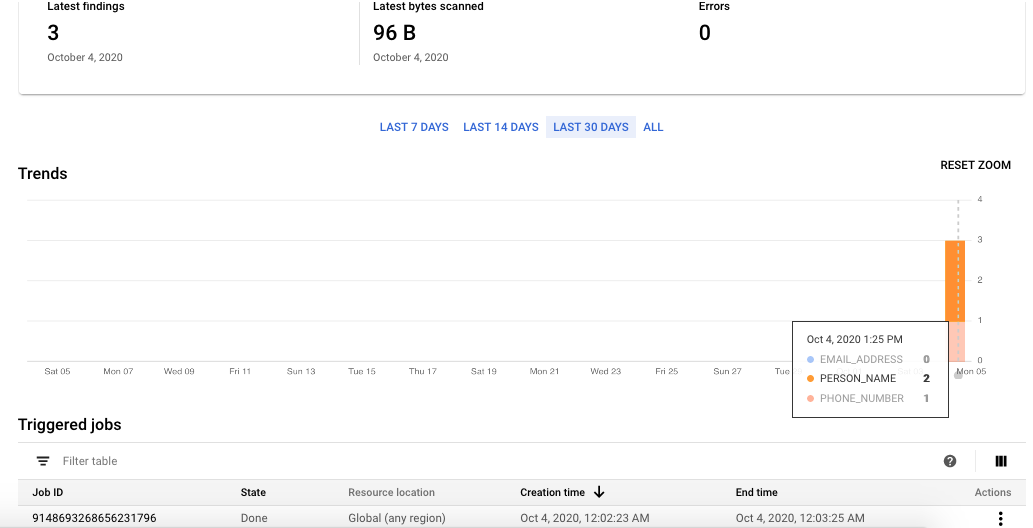
Finally, let’s run the triggers (rather than waiting for the schedule) to test them out.


As we see, this is working as we expected. Awesome!


